

Ever tried to capture something on your screen and didn’t know where to start? Learning how to screenshot on iPad is one of those small skills that makes a big difference—whether you’re saving notes, sharing a chat, or grabbing an image.
The process is quick and easy, but it can vary depending on your iPad model. In this guide, we’ll walk you through every method so you can take screenshots confidently, no matter which device you’re using.
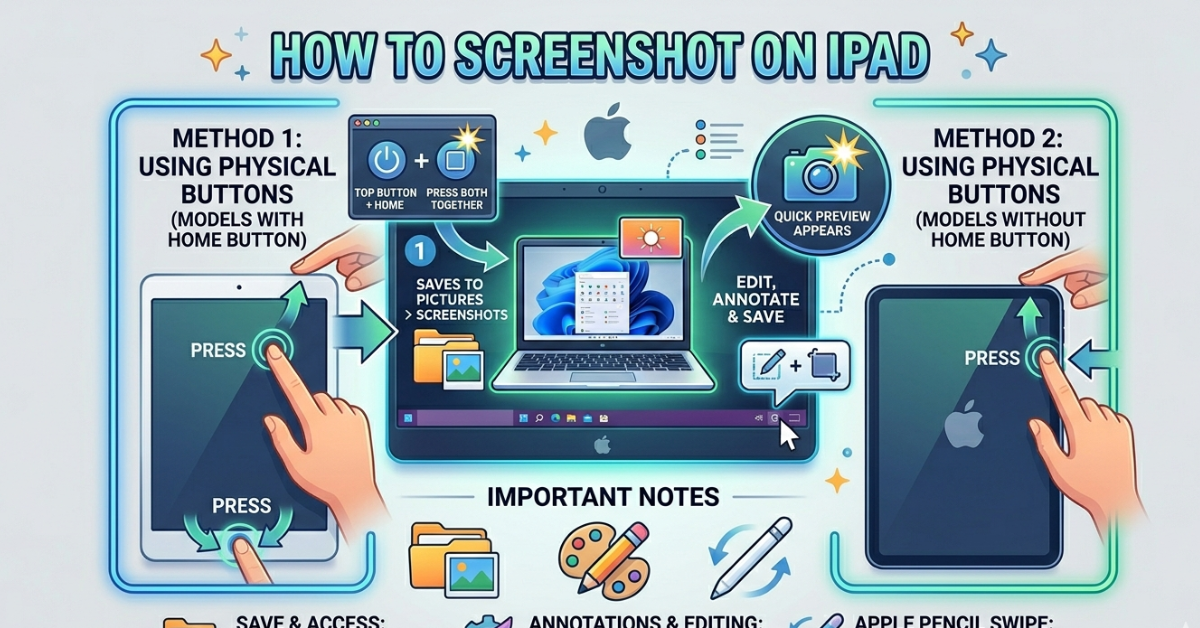
How to Screenshot on iPad With Buttons
The most common method involves using physical buttons.
For iPads Without a Home Button
(Newer models like iPad Pro, iPad Air, and recent iPad 10th generation)
Press:
- Top Button + Volume Up button (at the same time)
What happens?
- The screen flashes
- A thumbnail appears in the corner
This method works for most modern devices, including those without a traditional Home button.
How to Screenshot on iPad With Home Button
If you’re using an older model, the steps are slightly different.
For iPads With a Home Button
(Older models like iPad 7th gen, iPad 8, or iPad Air 2)
Press:
- Home Button + Top (or Side) Button
Result:
- Instant screenshot saved to Photos
This is the classic method many users are familiar with.
How to Screenshot on iPad Without Home Button
For newer designs, Apple removed the Home button—but screenshots are still easy.
Steps:
- Press Top + Volume Up together
- Release quickly
- Tap the preview to edit if needed
This is the standard method for devices like iPad Pro and iPad Air.
How to Screenshot on iPad With Keyboard
If you use a keyboard with your iPad, there’s a shortcut for that too.
Keyboard Shortcut:
- Command (⌘) + Shift + 3
What it does:
- Captures the full screen
- Saves it directly to Photos
This is especially useful for productivity tasks or when your iPad is docked.
How to Take a Screenshot Using AssistiveTouch
If physical buttons aren’t convenient, you can use AssistiveTouch.
Steps:
- Go to Settings > Accessibility > Touch
- Turn on AssistiveTouch
- Tap the on-screen button
- Select Device > More > Screenshot
Why use this?
- Helpful if buttons are damaged
- Easier for one-handed use
How to Screenshot on Different iPad Models
No matter your device, the process is very similar.
iPad Pro / iPad Air / iPad 10th Generation
- Use Top + Volume Up
- No Home button required
iPad Mini / Older iPads (5th, 7th, 8th gen)
- Use Home + Top button
Key takeaway:
The method depends mainly on whether your iPad has a Home button or not.
Where Do Screenshots Go on iPad?
After taking a screenshot:
- It’s saved automatically in the Photos app
- Look under:
- Albums > Screenshots
You can also:
- Edit
- Crop
- Share instantly
Tips for Better Screenshots on iPad
Want to make your screenshots more useful? Try these tips:
- Use the markup tool to highlight important parts
- Crop unnecessary areas
- Rename images for easy organization
- Use screenshot preview for quick edits
FAQs About Screenshot on iPad
1. How to screenshot on iPad quickly?
Press the correct button combination—either Top + Volume Up or Home + Top button depending on your model.
2. How to screenshot on iPad Pro or iPad Air?
Use Top button + Volume Up since these models don’t have a Home button.
3. How to screenshot on iPad with keyboard?
Press Command + Shift + 3 for a full-screen capture.
4. Where are screenshots saved on iPad?
They are stored in the Photos app under Screenshots album.
5. Can I screenshot without using buttons?
Yes, enable AssistiveTouch and use the on-screen option.
6. Why isn’t my screenshot working?
Make sure you’re pressing both buttons at the same time and releasing quickly.
Conclusion
Knowing how to screenshot on iPad is a simple but powerful skill that makes everyday tasks easier—from saving information to sharing content instantly. Whether you’re using button shortcuts, a keyboard, or AssistiveTouch, there’s a method that fits your style.
Now that you’ve learned all the options, try them out and stick with the one that feels most natural. Once you get used to it, taking screenshots will become second nature.